
.jpg)
 19 hours ago
12
19 hours ago
12
PROTECT YOUR DNA WITH QUANTUM TECHNOLOGY
Orgo-Life the new way to the future Advertising by AdpathwayThis beautiful bleeding tissue paper birds on canvas doesn’t actually use any paint at all to get that pretty watercolor effect! All you need is what’s called “bleeding tissue paper” and a canvas to make your own!
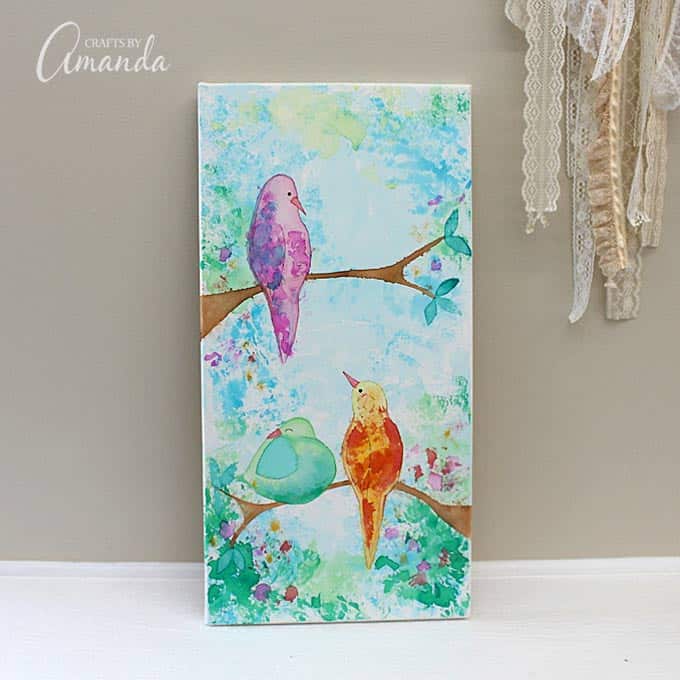
Why we love this project
First off, please don’t panic. I didn’t paint a picture of bleeding birds. I used what is called “bleeding tissue paper“ to create a piece of wall art with birds sitting on some branches. The color in the tissue paper bleeds when you get it wet, which as it turns out, looks like watercolor paint. So yes, this painting actually contains no paint at all. Only color from bleeding tissue paper.
I love actual painting too! See my dandelion painting here.
I’ll show you how to use bleeding tissue paper to create this watercolor effect so you can play around with it too. There’s also a video below that demonstrates all the different ways you can use it, I highly recommend watching it!
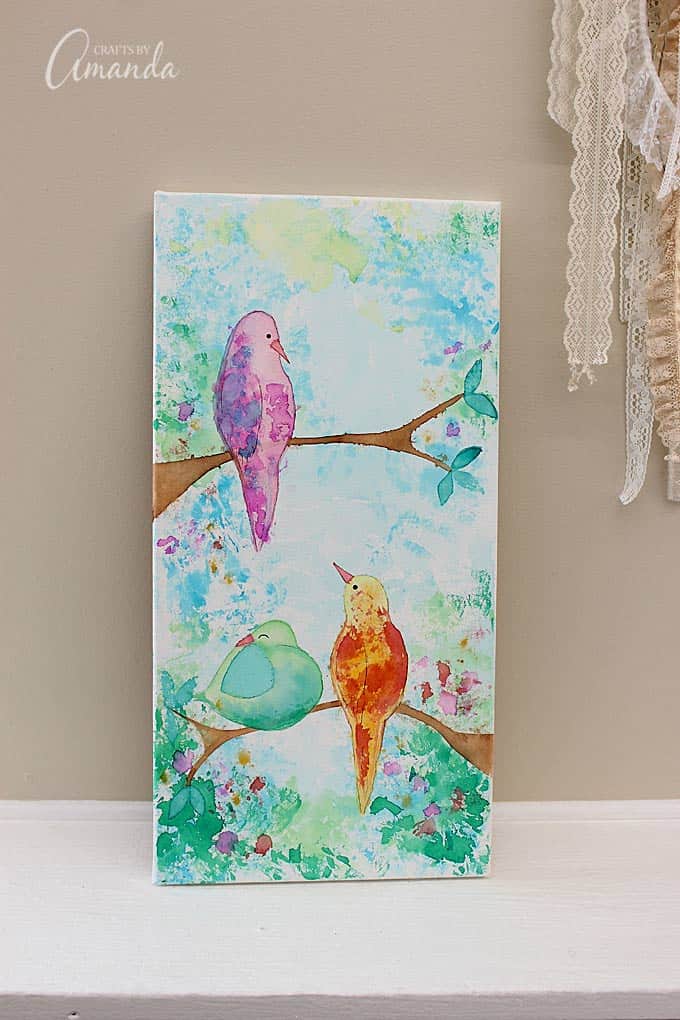
I first got the bleeding tissue paper from S&S Worldwide, the company I developed my kid’s craft kits for. When I was working on the craft kits I was trying all sorts of different materials but didn’t get a chance to play with the bleeding tissue paper until now.
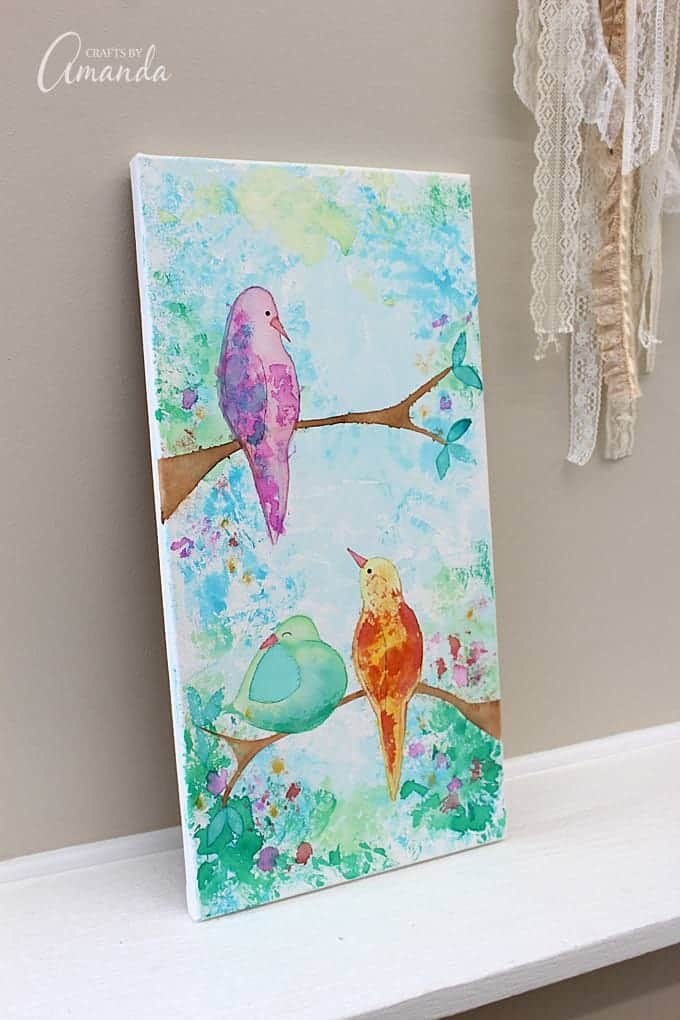
I was inspired to “paint” this bird canvas with the bleeding tissue paper because of the painting that my daughter got me for my birthday. It hangs above my sewing table in the studio. I love all the textures in that painting, which is what made me decide to create this one.
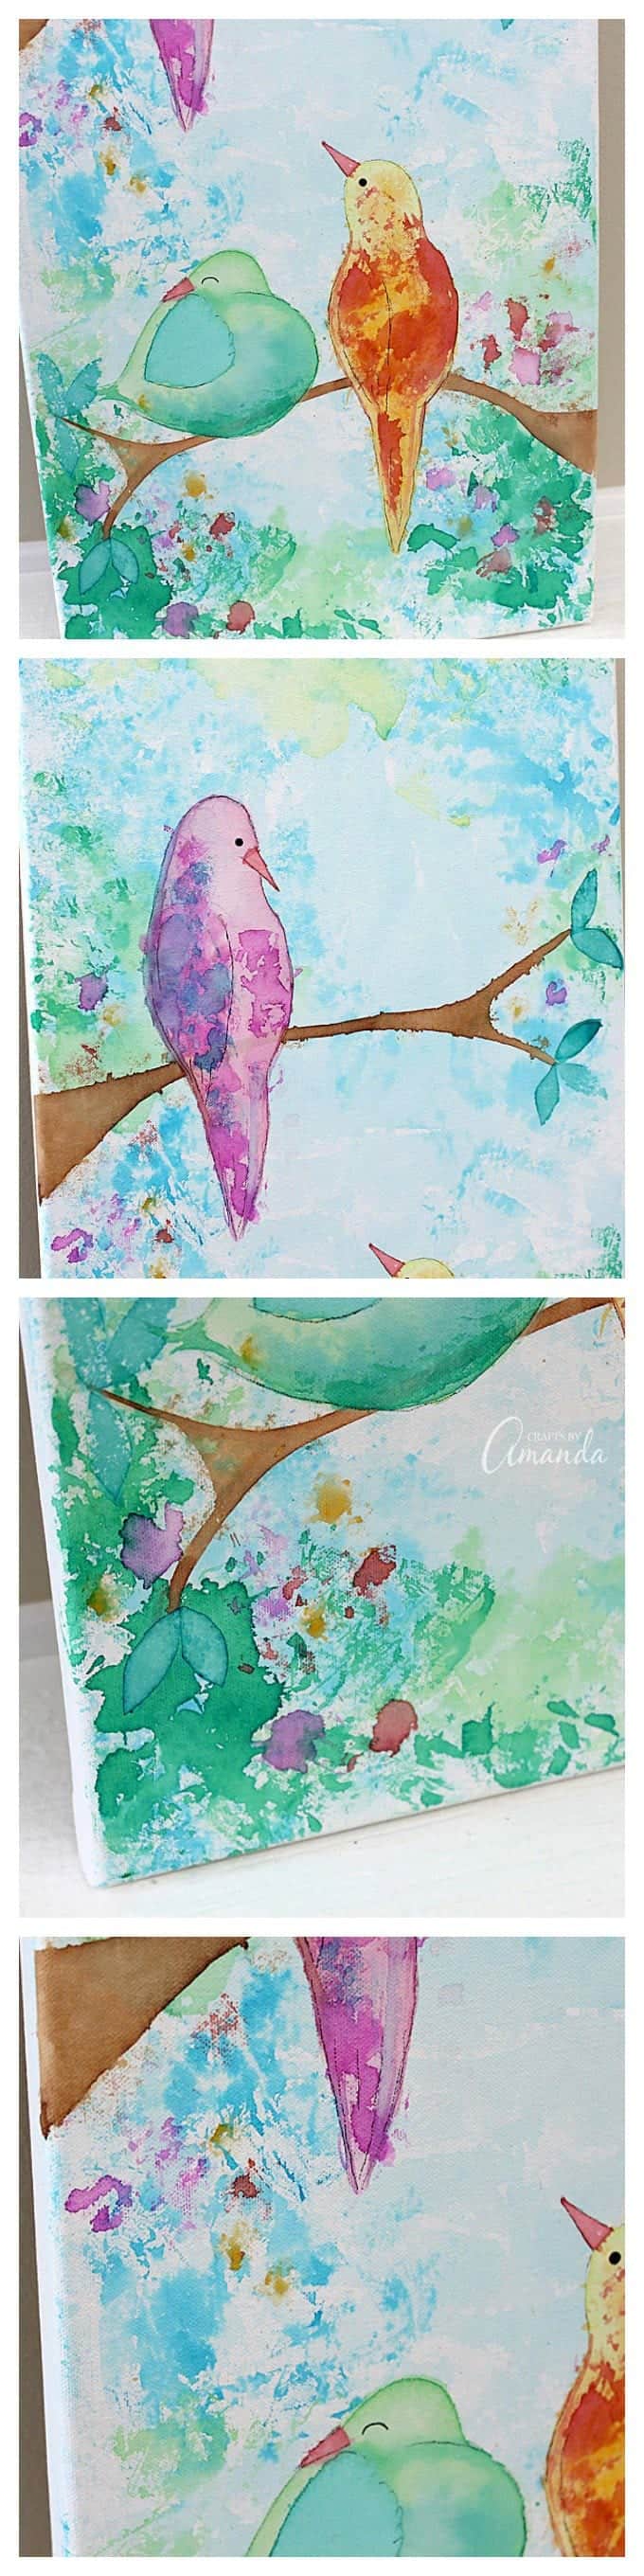
As you can see from these close up shots, you can create some pretty fun and interesting textures using the bleeding tissue paper. I like that you can layer it or blend it, brush it or scrunch it. I just kept playing around until I was happy with my results.
So let’s get started. There are a few things you will need. Most items you will have in your craft room or closet, but a couple things you might need to buy.
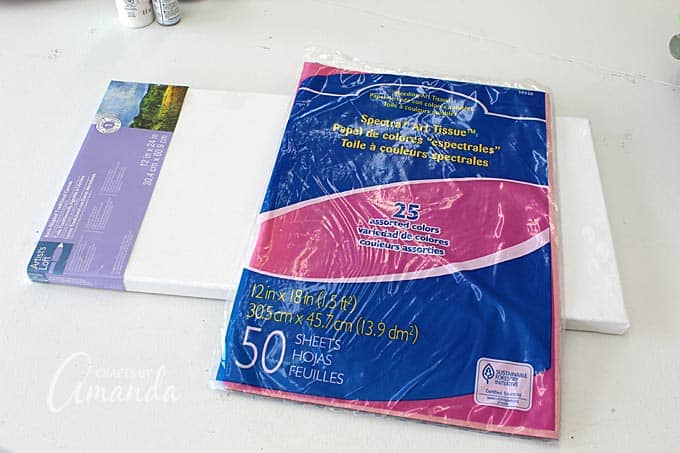
Supplies you will need

First off, if you don’t like your hands getting dirty, you might want to wear some workable latex gloves

. However, the stains do wash off with soap and water. So have fun, get dirty!
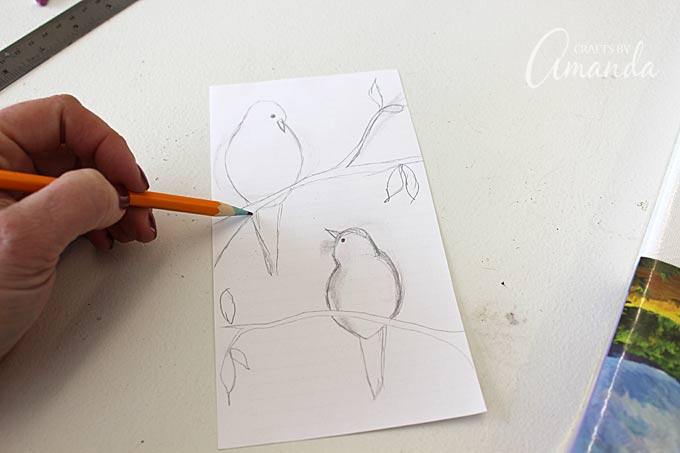
I started off by drawing out my birds, which you can do too. Maybe it’s not birds you want to paint, so draw whatever you like. I actually added a third bird later. Rule of thirds after all…
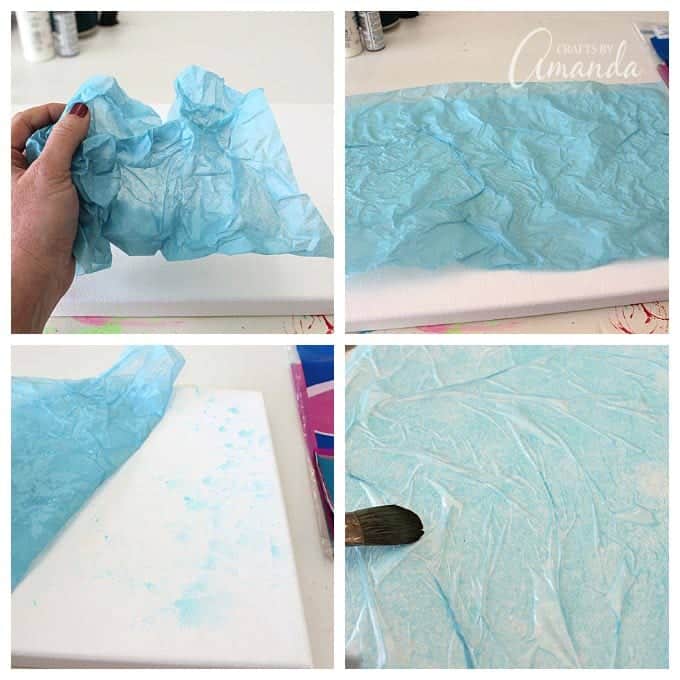
My canvas was already primed. If yours isn’t, you might want to give it a layer of gesso

first. Totally up to you, but the results could be different if the surface is not primed. Before we move on, here’s the video I mentioned earlier. It shows several different ways to use bleeding tissue paper.
I chose light blue as my initial background color. I wanted some white to show through. First I dampened the surface of the canvas with water and a paintbrush. I crumpled the tissue paper slightly then straightened it out and placed it onto the canvas.
I used a paintbrush to add water to the top of the tissue paper. The bleeding takes place once the tissue paper is wet. Moving the paintbrush across the surface will encourage more of the color to release from the tissue paper. If you find that the amount of color released is simply not enough, put the tissue paper back in place and use your damp paintbrush to gently rub the tissue paper onto the surface of the canvas.
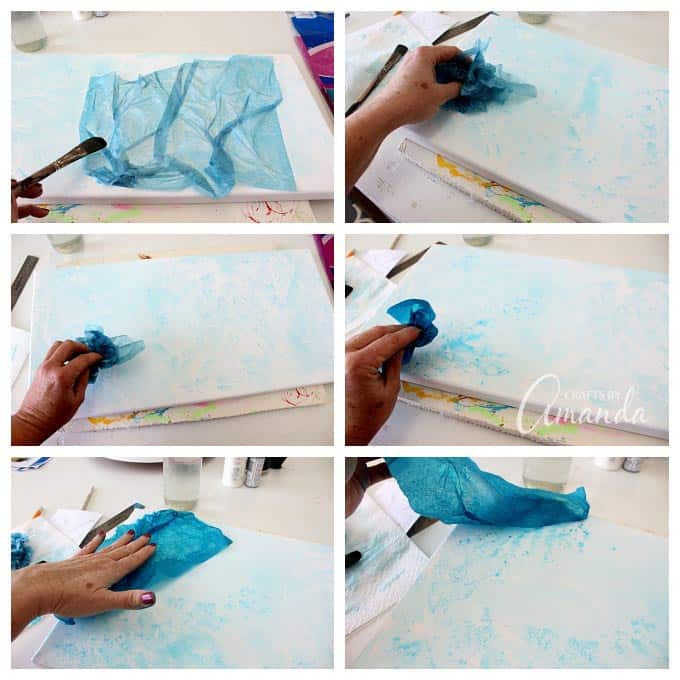
This is where art takes over. Simply lift and move the bleeding tissue paper to different areas of the canvas, crumple it up and pounce like a sponge, adding water as needed, lifting and checking the color, and repeating wherever necessary.
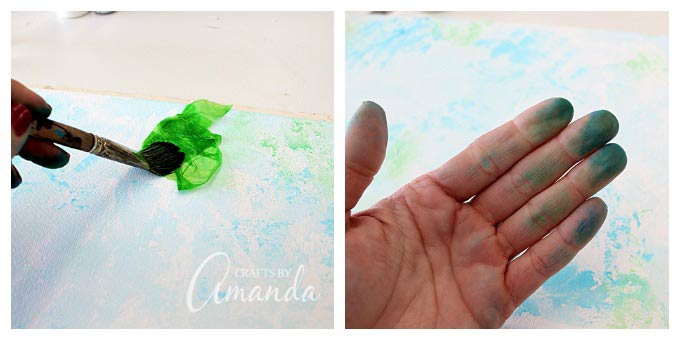
Once I was happy with the light blue background, I started adding some green. Same concept, crumple, water, lift, repeat. And as you can see if you don’t wear gloves (I know, I’m such a rebel) your fingers will get stained. But it will wash off with soap.
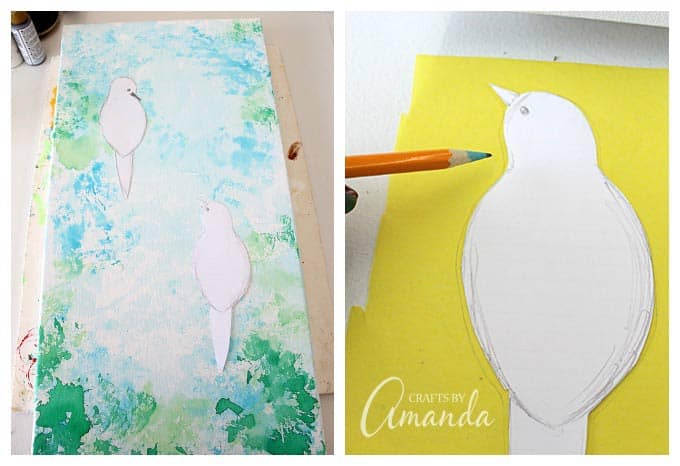
Once I had the background the way that I wanted it, I cut out my bird patterns and placed them onto the canvas to figure out exactly where they would go. I used those drawings and a pencil to trace the bird shapes onto the tissue paper. I chose yellow as the background for bird on the lower branch.
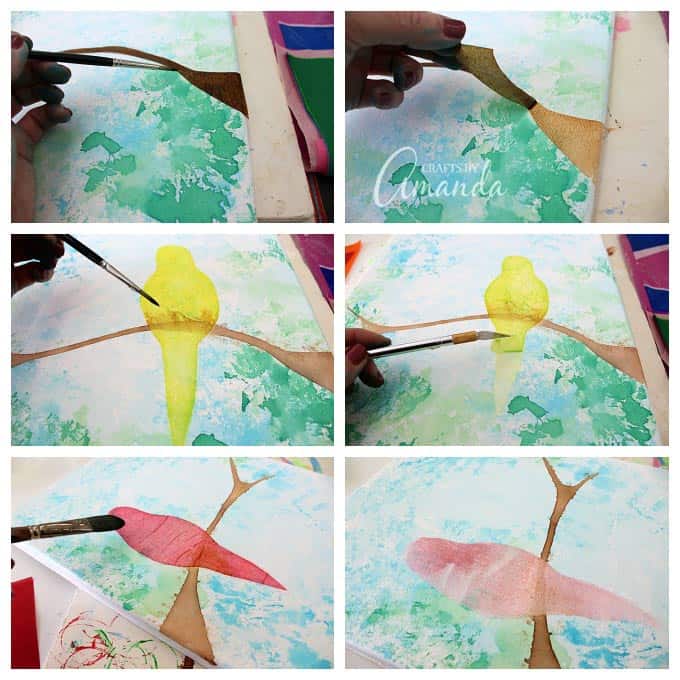
Adding the birds and the branches is a little more methodical than the background. I cut the bird shapes as well as the branch shapes from the tissue paper. Then using a liner brush, I placed the shapes onto the canvas then applied water to the bleeding tissue paper shapes.
I let them sit for a few minutes to make sure I got a good transfer. Then I removed the tissue paper from the canvas. I found it easiest to life the tissue paper with a craft knife.
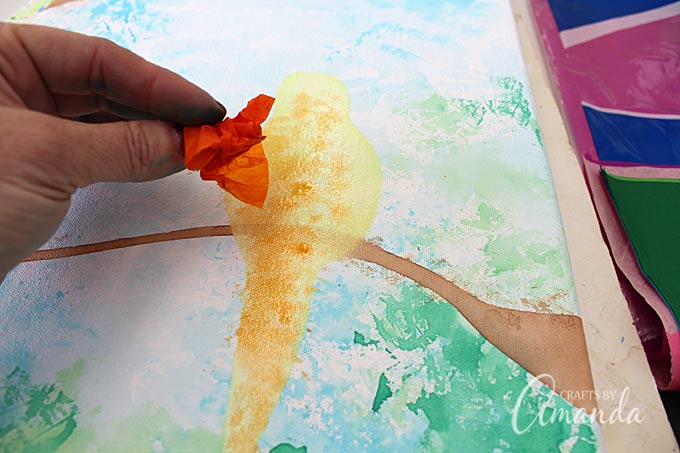
Something I learned while I was creating is that you should allow the initial design color to dry before trying to add another color. As you can see above, the orange was blending in with the still wet yellow beneath it.
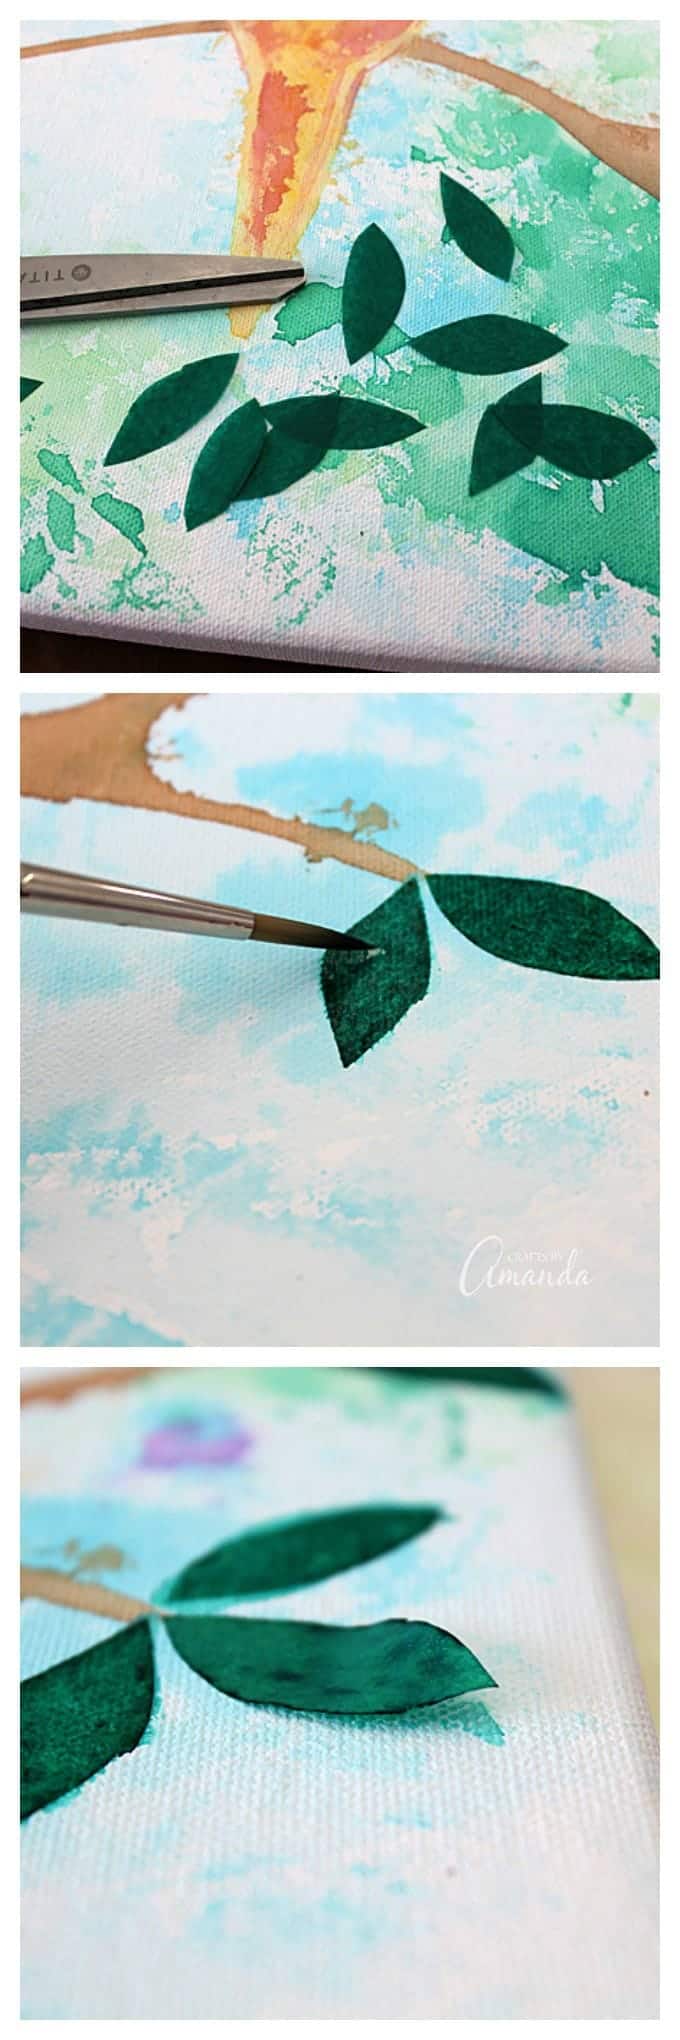
To make the leaves, cut small leaf shapes from green bleeding tissue paper, then carefully apply them to the canvas with a liner brush and water. Leave the tissue paper leaves in place and let them dry. They will begin to lift, and at that point you can remove them.
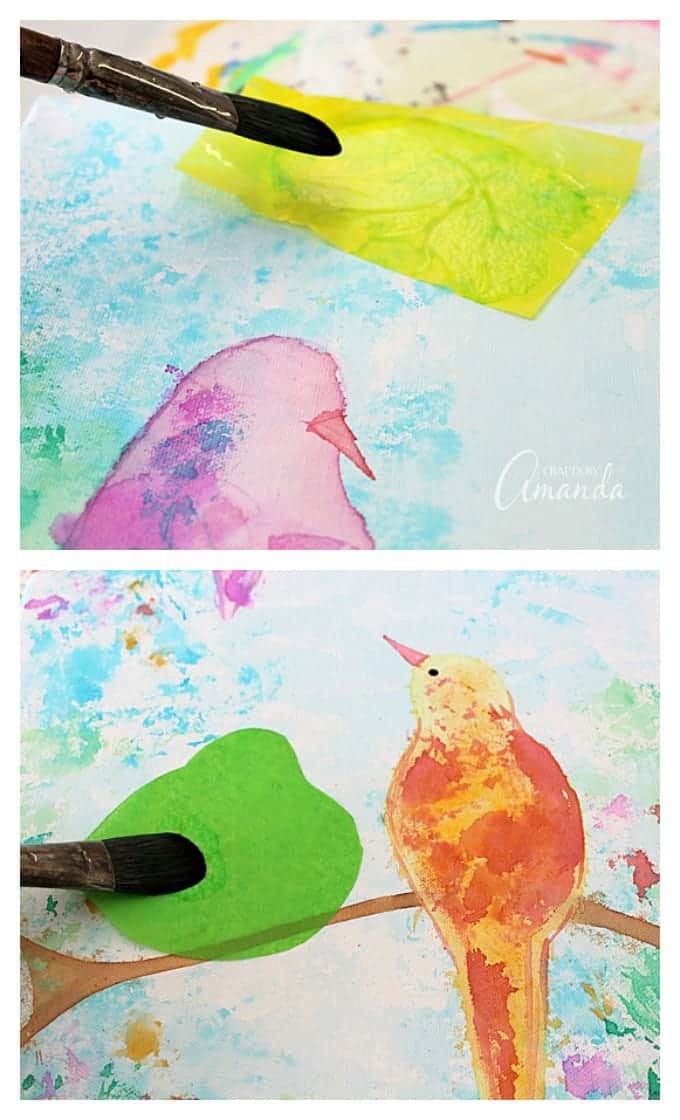
By now you’ve probably got the hang of it and you are adding textures to the birds as well as your background. Play around with it and have fun! I even added a third bird to my original design, and as you can see you just cut a shape from the tissue paper and use water and a paintbrush to add it to the canvas. I also added some yellow to the top as an afterthought. Afterthoughts are one of my favorite parts of the creative process.
I finished the “painting” off by lightly outlining the birds with a micron craft pen. Subtle enough to emphasize the birds, but not too much that they stood out. I like it!
When everything is completely dry, spray the finished art with an acrylic sealer. I did 2 coats.
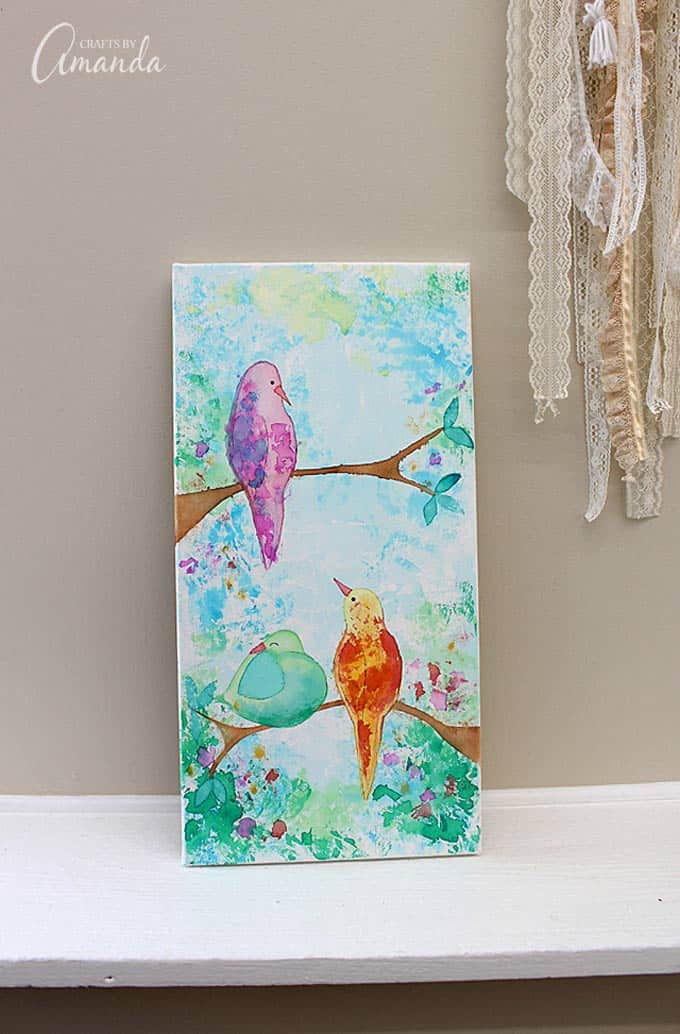
And that’s it! We made a piece of wall art that looks like watercolor paint but doesn’t use any paint at all! Hope you enjoyed this project and it encourages you to try something new.
More Wall Art Ideas
Be sure to check out my craft kits through S&S Worldwide, it’s the only place you can buy them! :) Look, I’m in a catalog! Yay!
This post originally appeared here on Jan 27, 2016.
Amanda Davis is the crafty, entrepreneurial mother of four children. She loves to bake, cook, make kid's crafts and create decorative items for her home. She is a crafting expert and guru in the kitchen and has appeared online and in print publications many times over the years.
Latest posts by Amanda Davis (see all)








 English (US) ·