
.jpg)
 14 hours ago
8
PROTECT YOUR DNA WITH QUANTUM TECHNOLOGY
Orgo-Life the new way to the future Advertising by AdpathwayAuthor by Amanda Davis on October 30, 2026 Updated on October 30, 2026
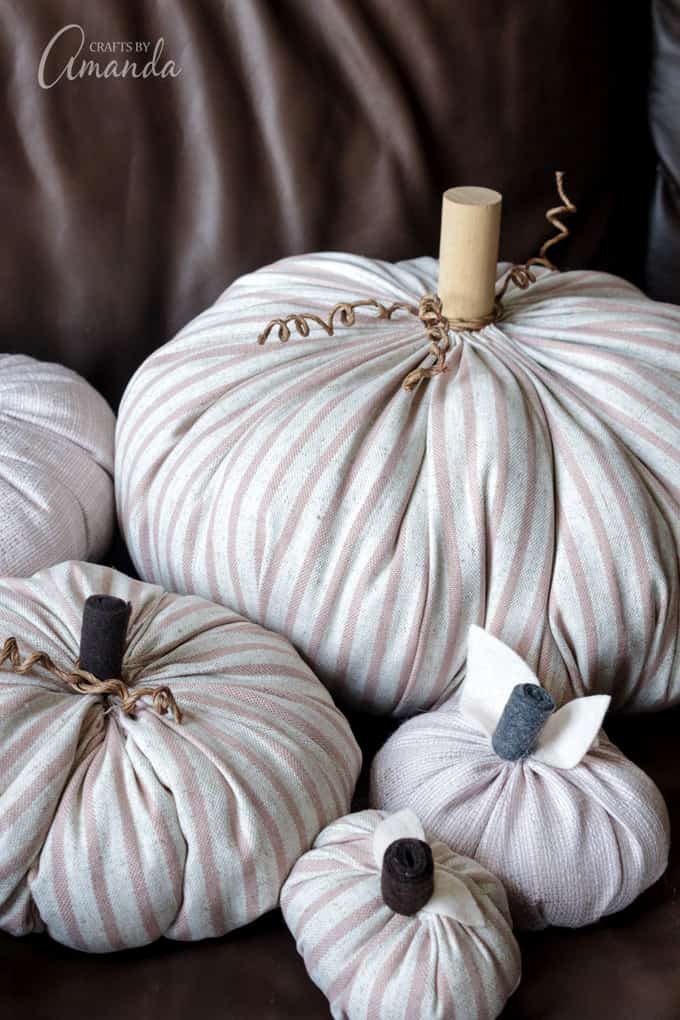
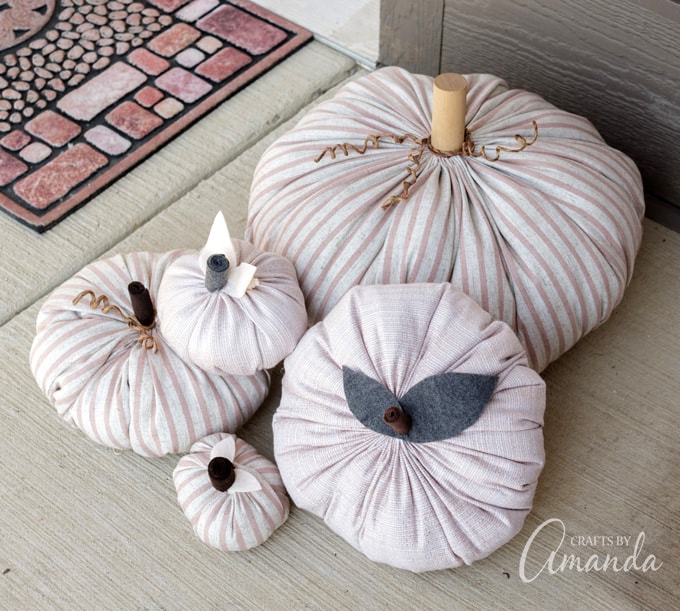
If you’re looking for a fun, fresh way to decorate for fall, make these easy fabric pumpkins to dress up just about any room! Sew up some smaller fabric pumpkins to use on the table, mantle or a shelf, and make bigger ones to put on the porch, bed or coffee table.
Why this project works
I know that pumpkins are traditionally orange, but we now live in a Pinterest-crazed world full of design possibilities! You don’t have to be traditional if you don’t want to. Instead, break out of that box and use fabrics and colors that you love.
I chose a solid light rose-colored fabric and a trendy striped fabric, giving my fabric pumpkins a much more modern feel. A year ago I would have stuck with a more rustic, country design. But I’ve moved out of the county and into a small metropolis, and my modern apartment seemed to be screaming for some stylish fall decor.
Related Craft – DIY Succulent Pumpkin Decor
Supplies you will need
- Fabric of your choice
- Polyfil
- Embroidery floss
- Felt
- Vine wrapped craft wire
- Sewing machine
- Hot glue gun
- Scissors
- Tapestry needle
How to Make Easy Fabric Pumpkins
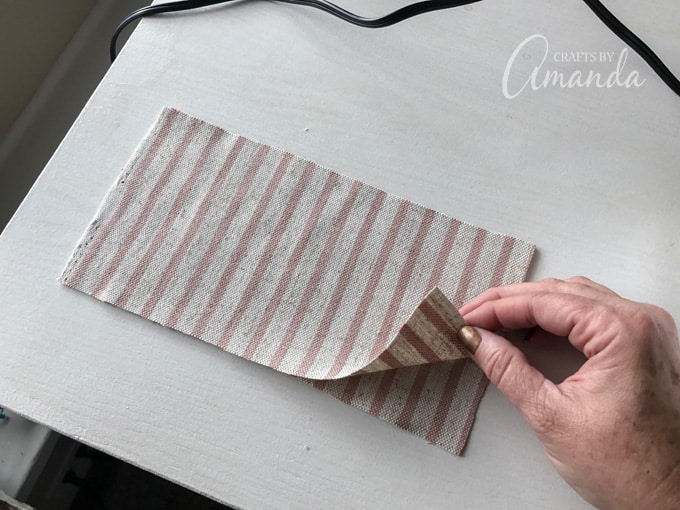
- First, cut fabric into rectangles with a ratio of 2:1. For example, my largest pumpkin measured 11″ x 22″. One of my smallest pumpkins started with a rectangle measuring 4″ x 8″. You can use any size you want, just make sure that the width is twice as long as the height.

- You will need 2 rectangles for each pumpkin. Once they are cut, place one of top of the other, right sides facing each other. This particular fabric in the photo is double sided.
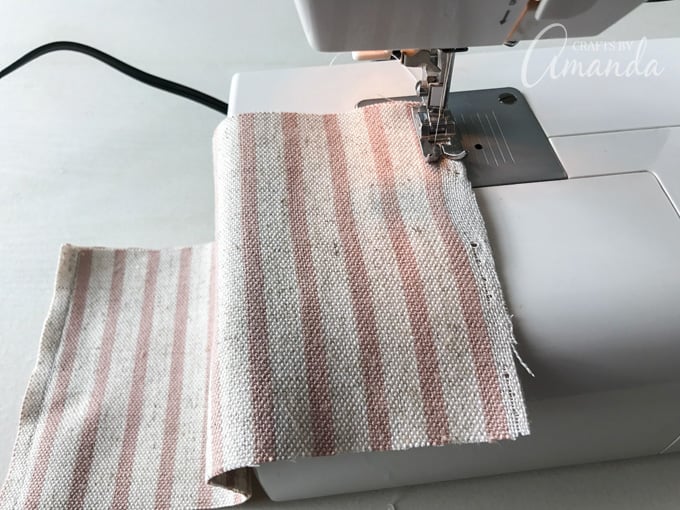
- Next sew the two short sides together. Be sure that you back stitch at each end to avoid any accidental unraveling.
Pro Tip: Instead of tying a knot at the end of the thread, leave a 12-inch long tail. This is especially helpful with a fabric that has a high thread count so that you don’t accidentally pull the knot through when gathering (see below).
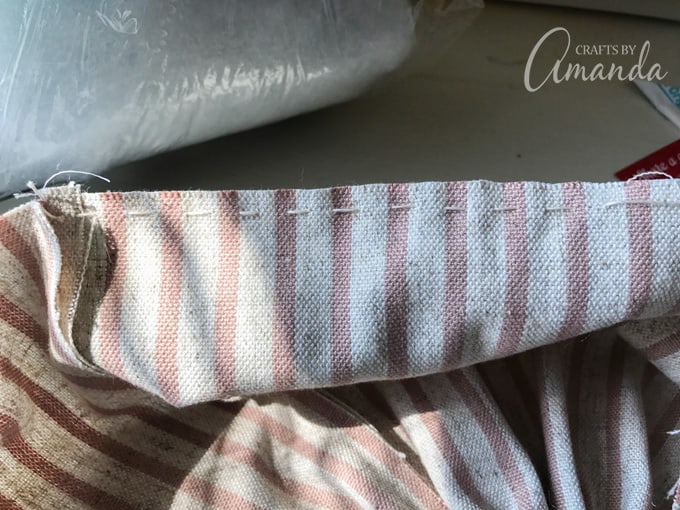
- Using your tapestry needle and embroidery floss, sew a simple running stitch along the long edge. Do not sew the two long edges together. Keep them separate and continue the running stitch all the way around.
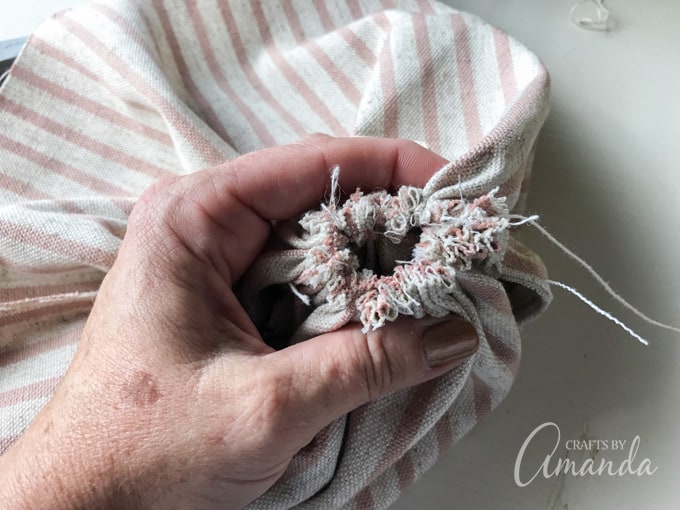
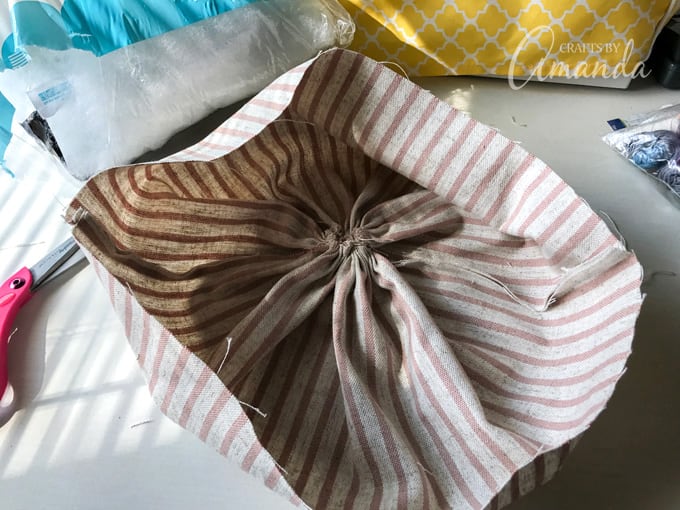
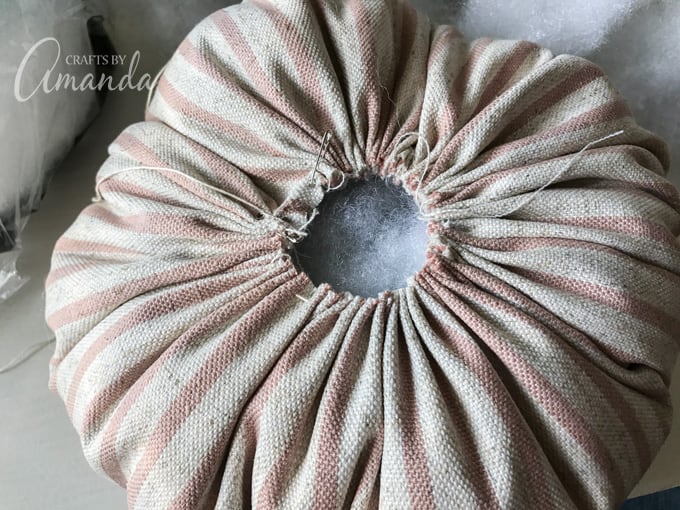
- Next, gently pull on both ends of the thread (your needle on one end and the tail you left at the other) which will gather the fabric. Continue gathering until you have a snug circle. Tie the tail end and the needle end together to create a knot, then sew back and forth through the gathered center to close off any gaps.
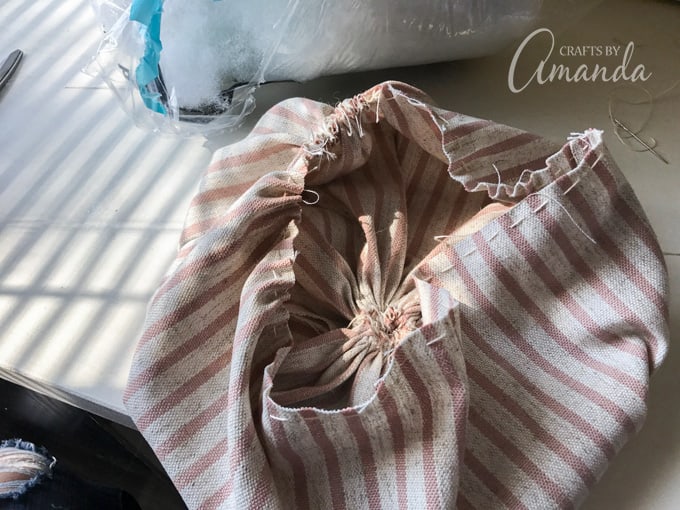
- Turn the fabric right side out. With your gathered circle at the bottom, do another running stitch (with a tail) all the way around the top of the “pumpkin”. Do not start pulling and gathering just yet.
- Fill the fabric about 2/3 with Polyfil. Begin gathering by gently pulling on both the needle end and tail end. Gather about half way then start adding more Polyfil, pushing it carefully down into the pumpkin.
Pro Tip: It is very helpful to have a friend assist you during this step. As you are stuffing the pumpkin, you will need to hold both ends of the embroidery floss. This can be challenging at best! Ask a friend to stuff or hold the threads.
- Work together to carefully stuff and gather and tighten up the opening. We found it easiest if one gathered the fabric into the center with their hands and the other tightened the threads. This eliminated the massive amount of tension that there would have been without someone holding the center.
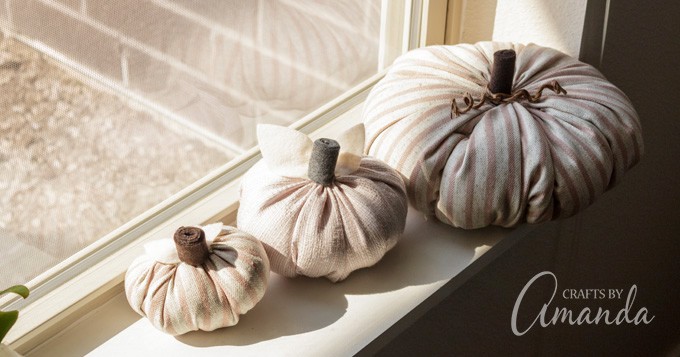
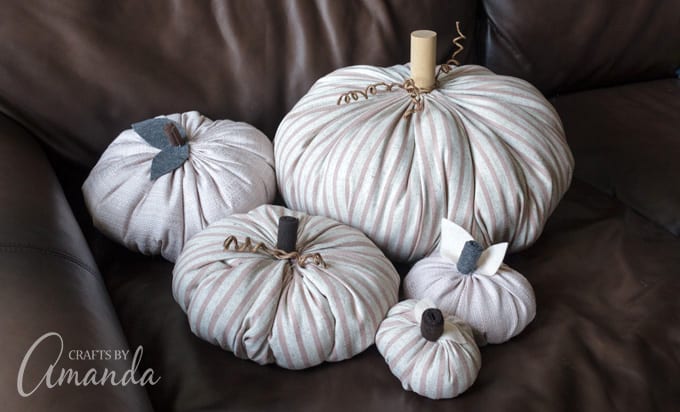
Now you are ready to add leaves, stems and tendrils! For all except the largest pumpkin is simply rolled up strips of felt and secured them closed with hot glue. I also cut very simple leaves from felt and glued everything in place. For the largest pumpkin I just happened to have a really fat wooden dowel that fit into the center hole perfectly! To make the tendrils, simply wrap the vine craft wire around a paintbrush handle or pencil to create the curls.
More Pumpkin Projects
And there you have it. Your very own fabric pumpkin patch! A great way to dress up your fall decor.
Amanda Davis is the crafty, entrepreneurial mother of four children. She loves to bake, cook, make kid's crafts and create decorative items for her home. She is a crafting expert and guru in the kitchen and has appeared online and in print publications many times over the years.
Latest posts by Amanda Davis (see all)
Reader Interactions
Free CraftsBy email every week
Latest crafts straight to your inbox!









 English (US) ·