
.jpg)
PROTECT YOUR DNA WITH QUANTUM TECHNOLOGY
Orgo-Life the new way to the future Advertising by AdpathwayWe have already tried our hands on making normal and designer envelopes by origami techniques, now let us try our hands on a unique style of enveloping that is an Origami Pumpkin envelope. This theme is specially made to be used for Halloween purposes to make the invitations to the festival even more spooky. As mentioned above, we will be using the techniques of Origami to perform this specific craft and thus will require only one basic material, which is a piece of paper. This is a great origami idea for Halloween. So, without any further delay, let’s get started.
Step 1: Paper Selection
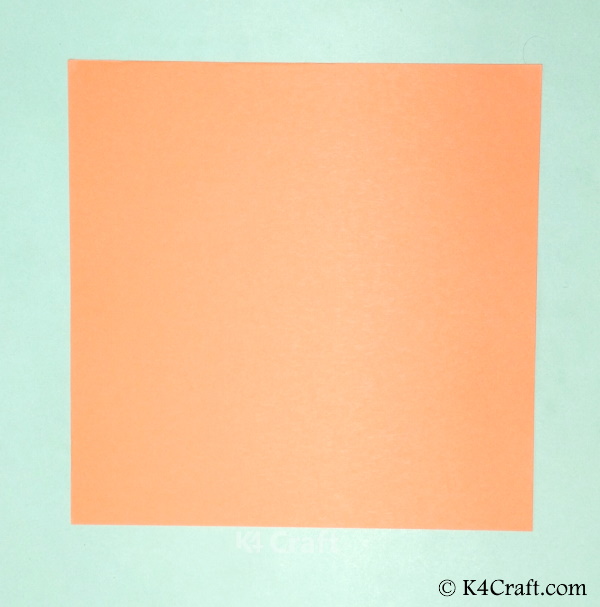
- Select any color paper on which you want your envelope to be.
- Make sure that the paper is square in shape.
Step 2: The Diagonal Fold
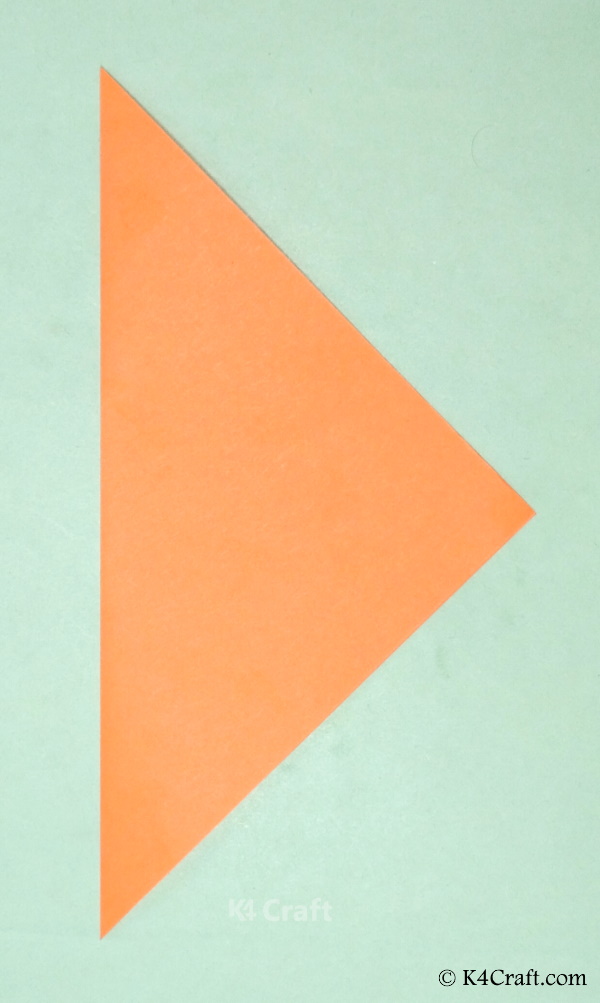
- Fold the square piece of paper into half along anyone of the diagonal.
- This will yield you a triangular-shaped fold.
Step 3: The Second Diagonal Fold
- Unfold the previous diagonal fold.
- This will yield you a diagonal crease.
- Now fold the paper in half along the other diagonal.
- This will again yield you a triangular-shaped fold.
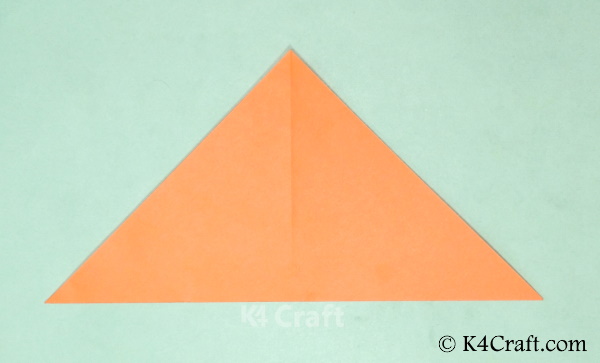
Step 4: Unfold

- Unfold the second diagonal fold.
- The square sheet now has two crease lines along its diagonals now.
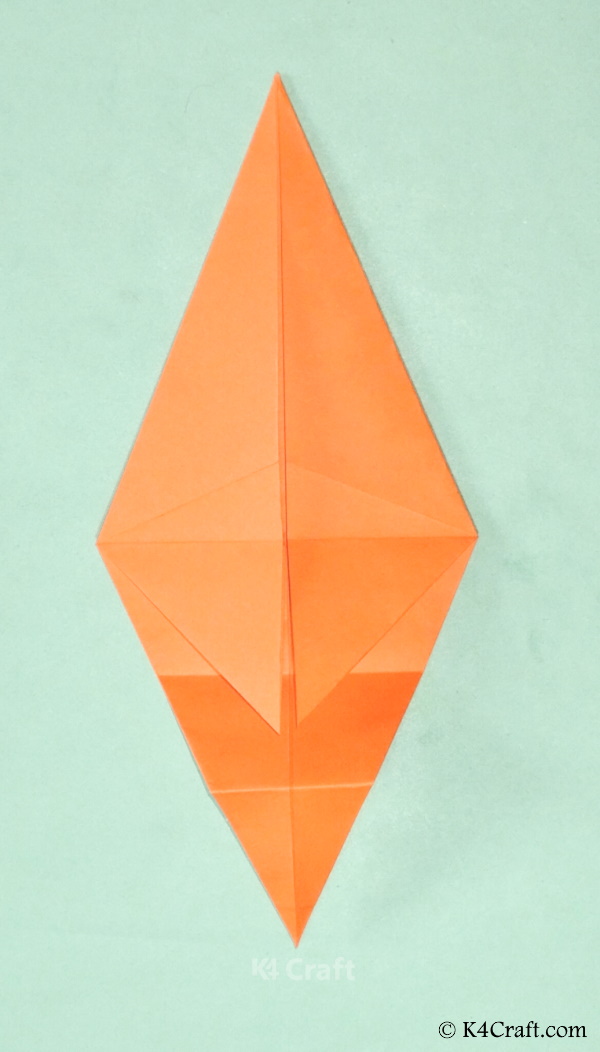
Step 5: The Diamond Fold

- Take anyone of the diagonals as the base and fold the two opposite vertex inner wards into triangular folds.
- Thus you will yield the diamond-shaped fold
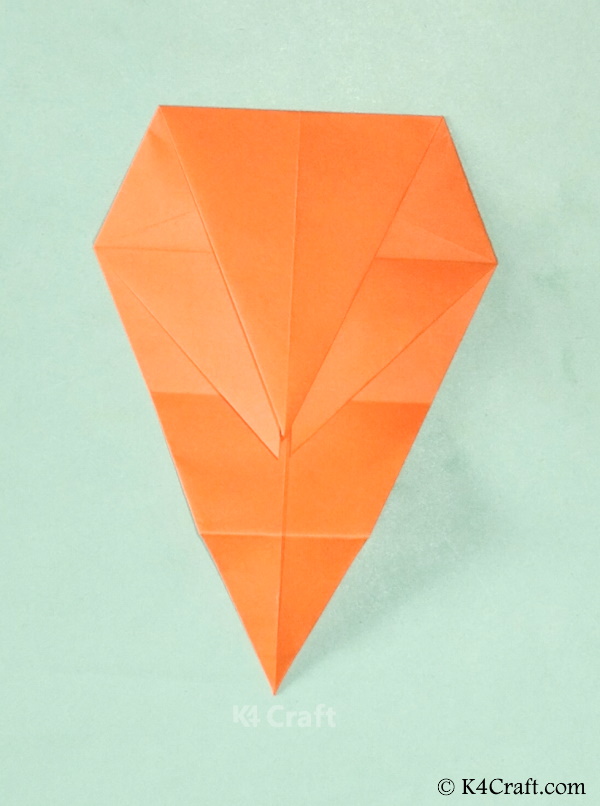
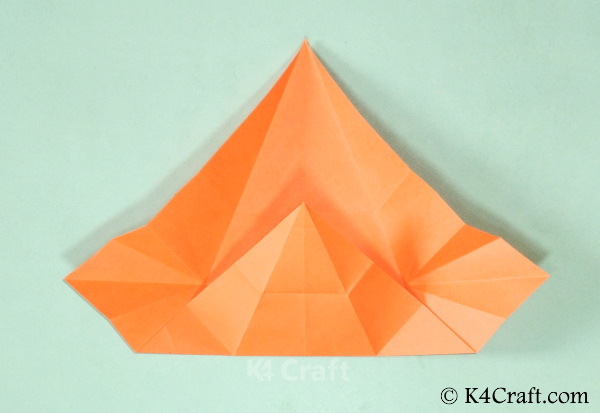
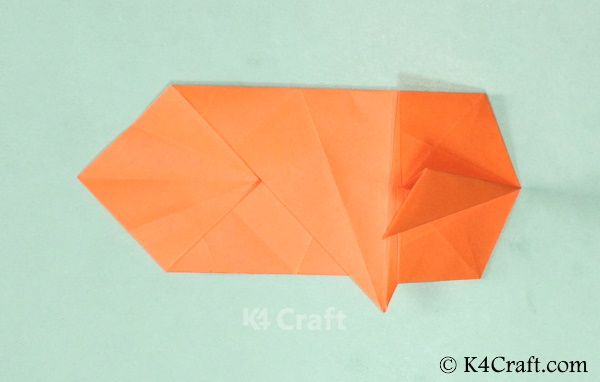
Step 6: Forming Crease Lines in the Lower Triangular Flap
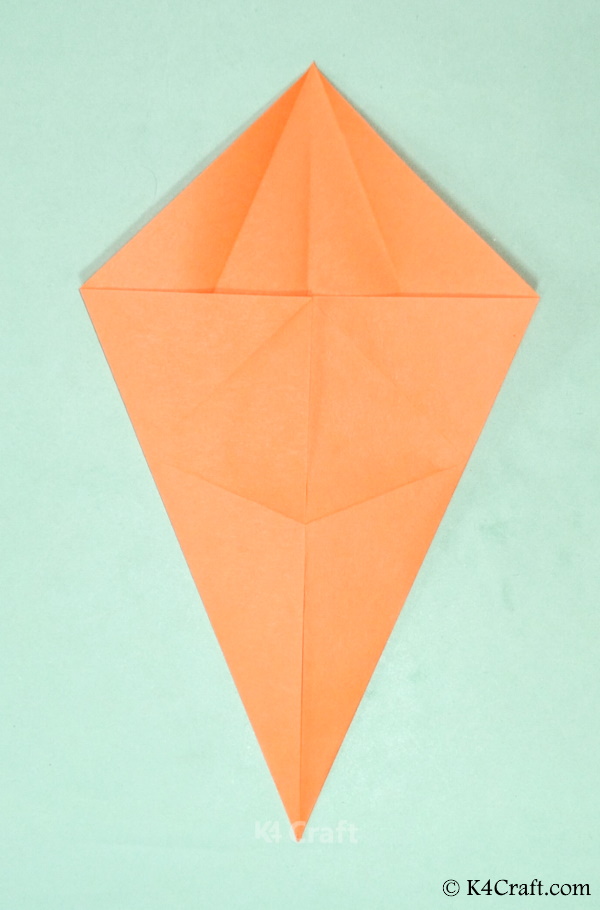
- Fold the lower part into two folds and unfold the same to develop the crease lines.
Step 7: Turn and Twist the Fold
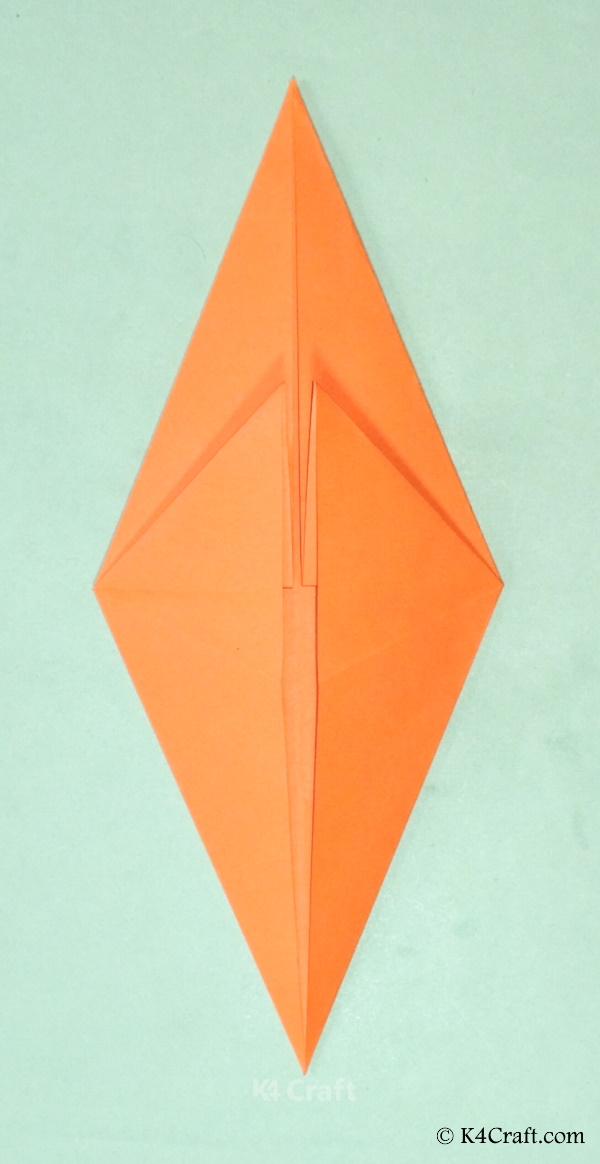
- Turn the figure and twist the fold to obtain a both-side pointed figure.
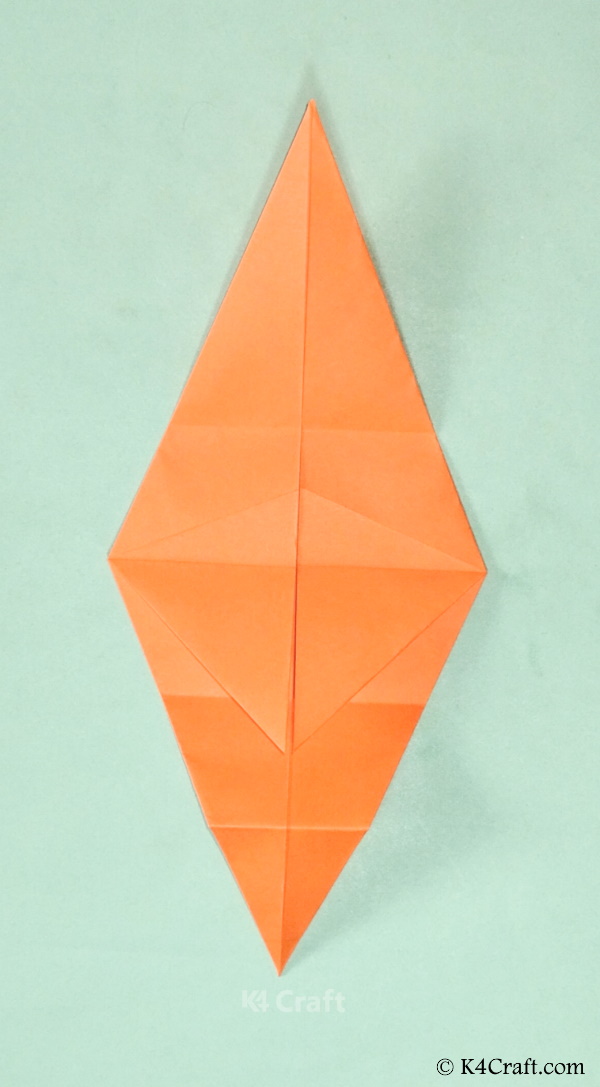
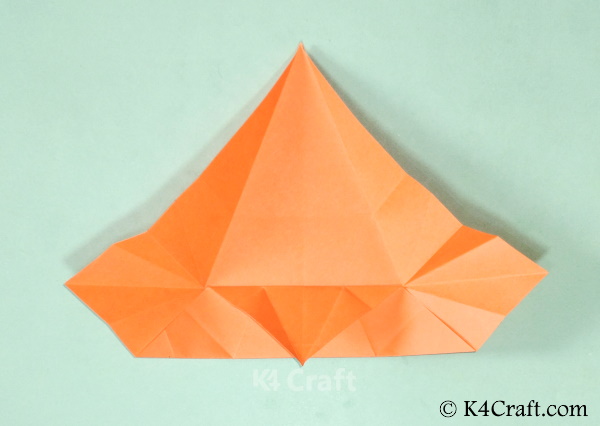
Step 8: The Sub Triangular Fold
- Fold the lower pointed fold upwards in the shape of a small triangular fold as shown.
Step 9: The Thinner Triangular Flap
- Fold the tip of the previous triangular flap in an outward direction.
- Make the fold in the opposite direction so that its tip points outwards.
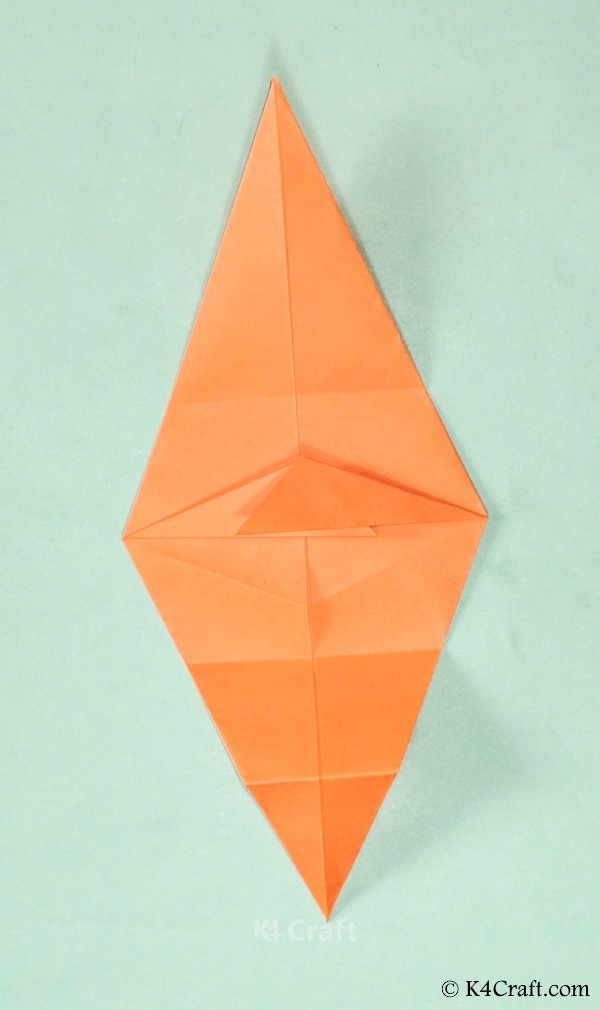
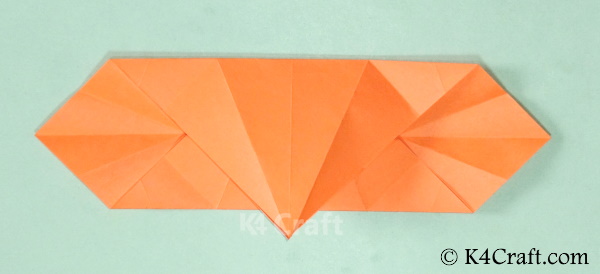
Step 10: Unfold
- Firstly unfold the first thin fold.
- Followed by unfolding the previous triangular fold.
- These unfolds will yield you two crease lines.
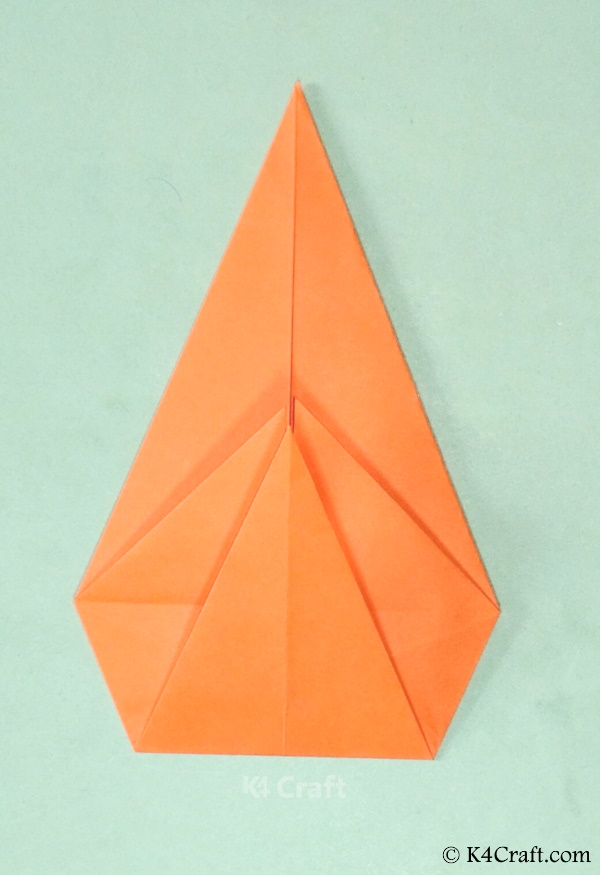
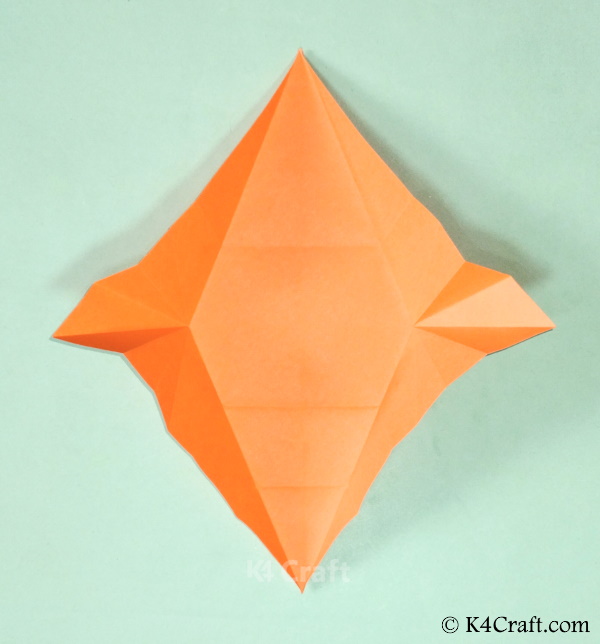
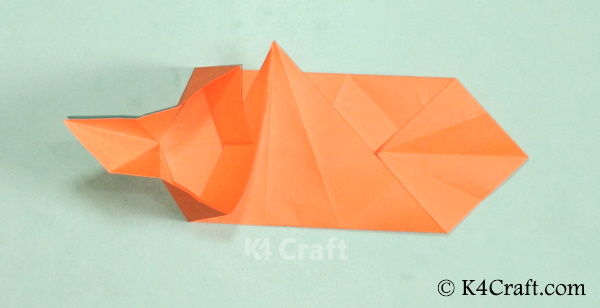
Step 11: The Upper Triangular Fold
- Now fold the upper pointed tip downwards in a triangular pattern.
Step 12: Unfold
- Unfold the previous upper triangular fold.
- This will yield you another crease line at the top.
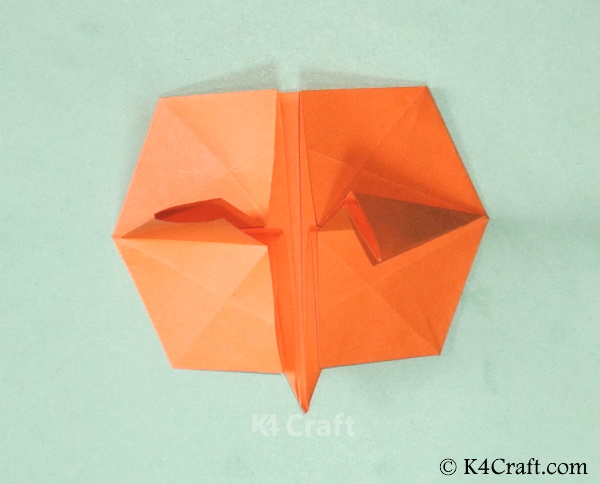
Step 13: Folding the Middle Flaps
- Fold one top flap lying in the middle of the structure in a triangular format.
Step 14: Unfold All the Previous Folds
- Unfold all the previous folds to get numerous crease lines.
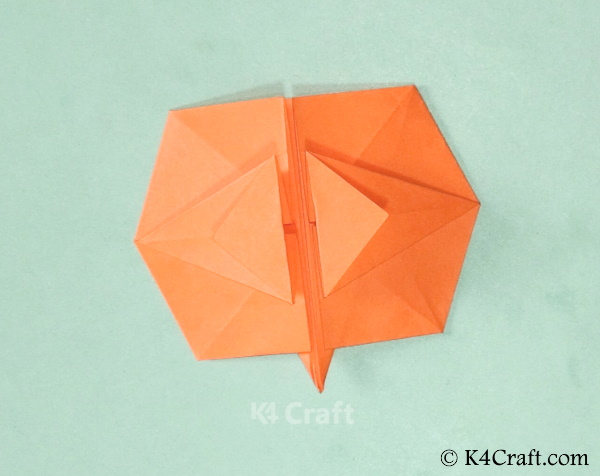
- Now elevate the sides keeping the diamond-shaped base intact.
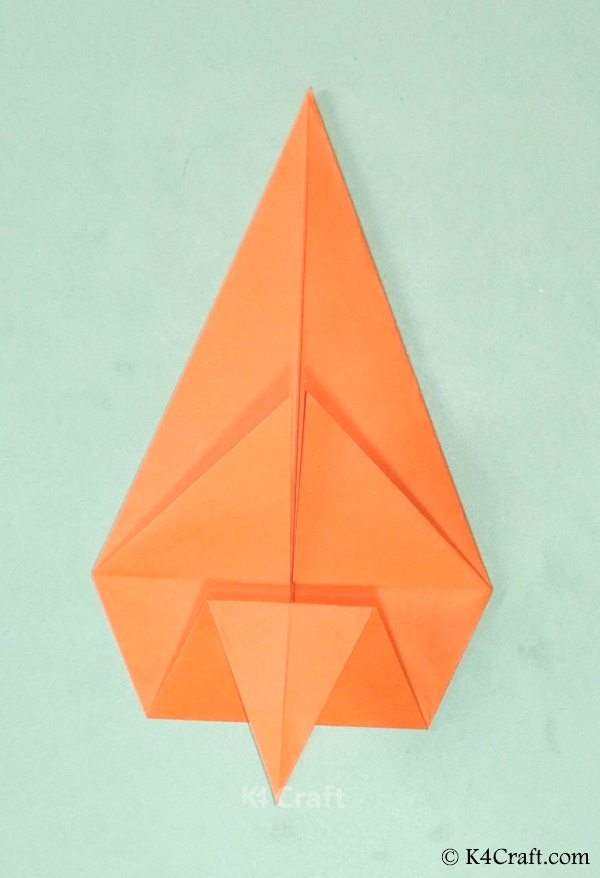
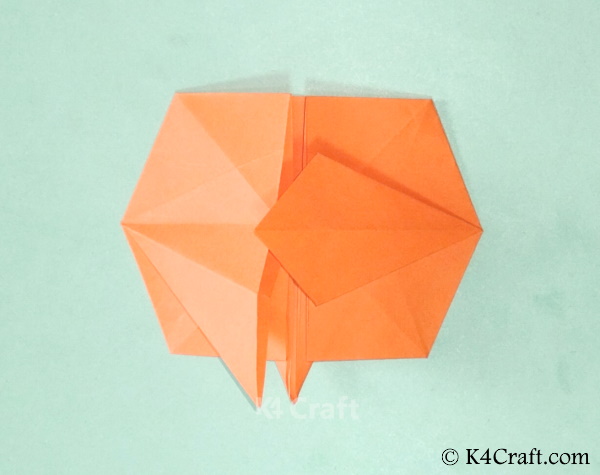
Step 15: Fold the Lower Part
- Fold the lower flap along with the crease and elevation intact
Step 16: Push Inn the Top Knotch
- Push in the pointed tip of the triangle along the crease lines.
- Thus you will yield the required shape.
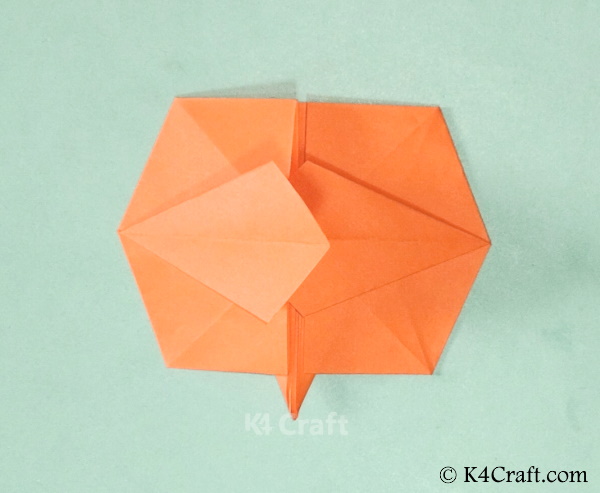
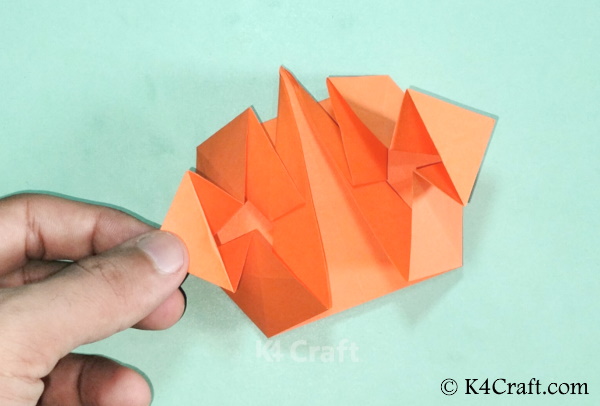
Step 17: Fold the Upper Flap
- Fold the upper triangular flap downwards along the crease line.
Step 18: Folding One Side
- Keeping the top and bottom folds as the base, fold one of the sides along the crease lines.
Step 19: Shape the Tip
- Shape the tip of the side fold by pressing firmly and making a small triangular flap above.
Step 20: Repeat with the Other Side
- Fold the flap of the other side, followed by shaping its tip.
Step 21: Preparing the Lock
- Spread one of the triangular flaps to make it a diamond shape so that its tip comes above the opposite flap.
Step 22: Forming the Other Diamond Shape
- Spread the opposite flap to make a diamond shape like the previous one.
- This time, this diamond shape will come over the previous one.
Step 23: Folding the Tips
- Fold the coinciding tips of both the diamond shapes backward in a triangular shape.
Step 24: Stretch Back
- Pull back the shape a bit, holding the two triangular tips.
- Make sure to apply less force so that the folds do not open up.
- Secure all the folds by pressing them from above after the entire process is done.
The Pumpkin Envelop!!
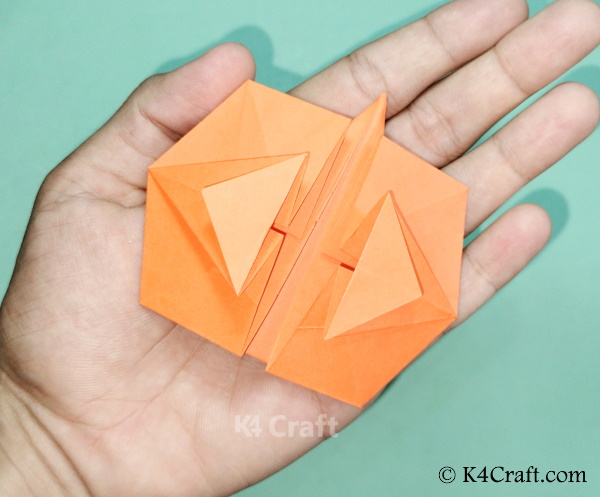
Your origami pumpkin envelope is ready!! This one is just perfect for sending invitations during Halloween. You can even use paints to draw some teeth and make it even more spooky. Hurry up and try your hand at this awesome craft.


 English (US) ·